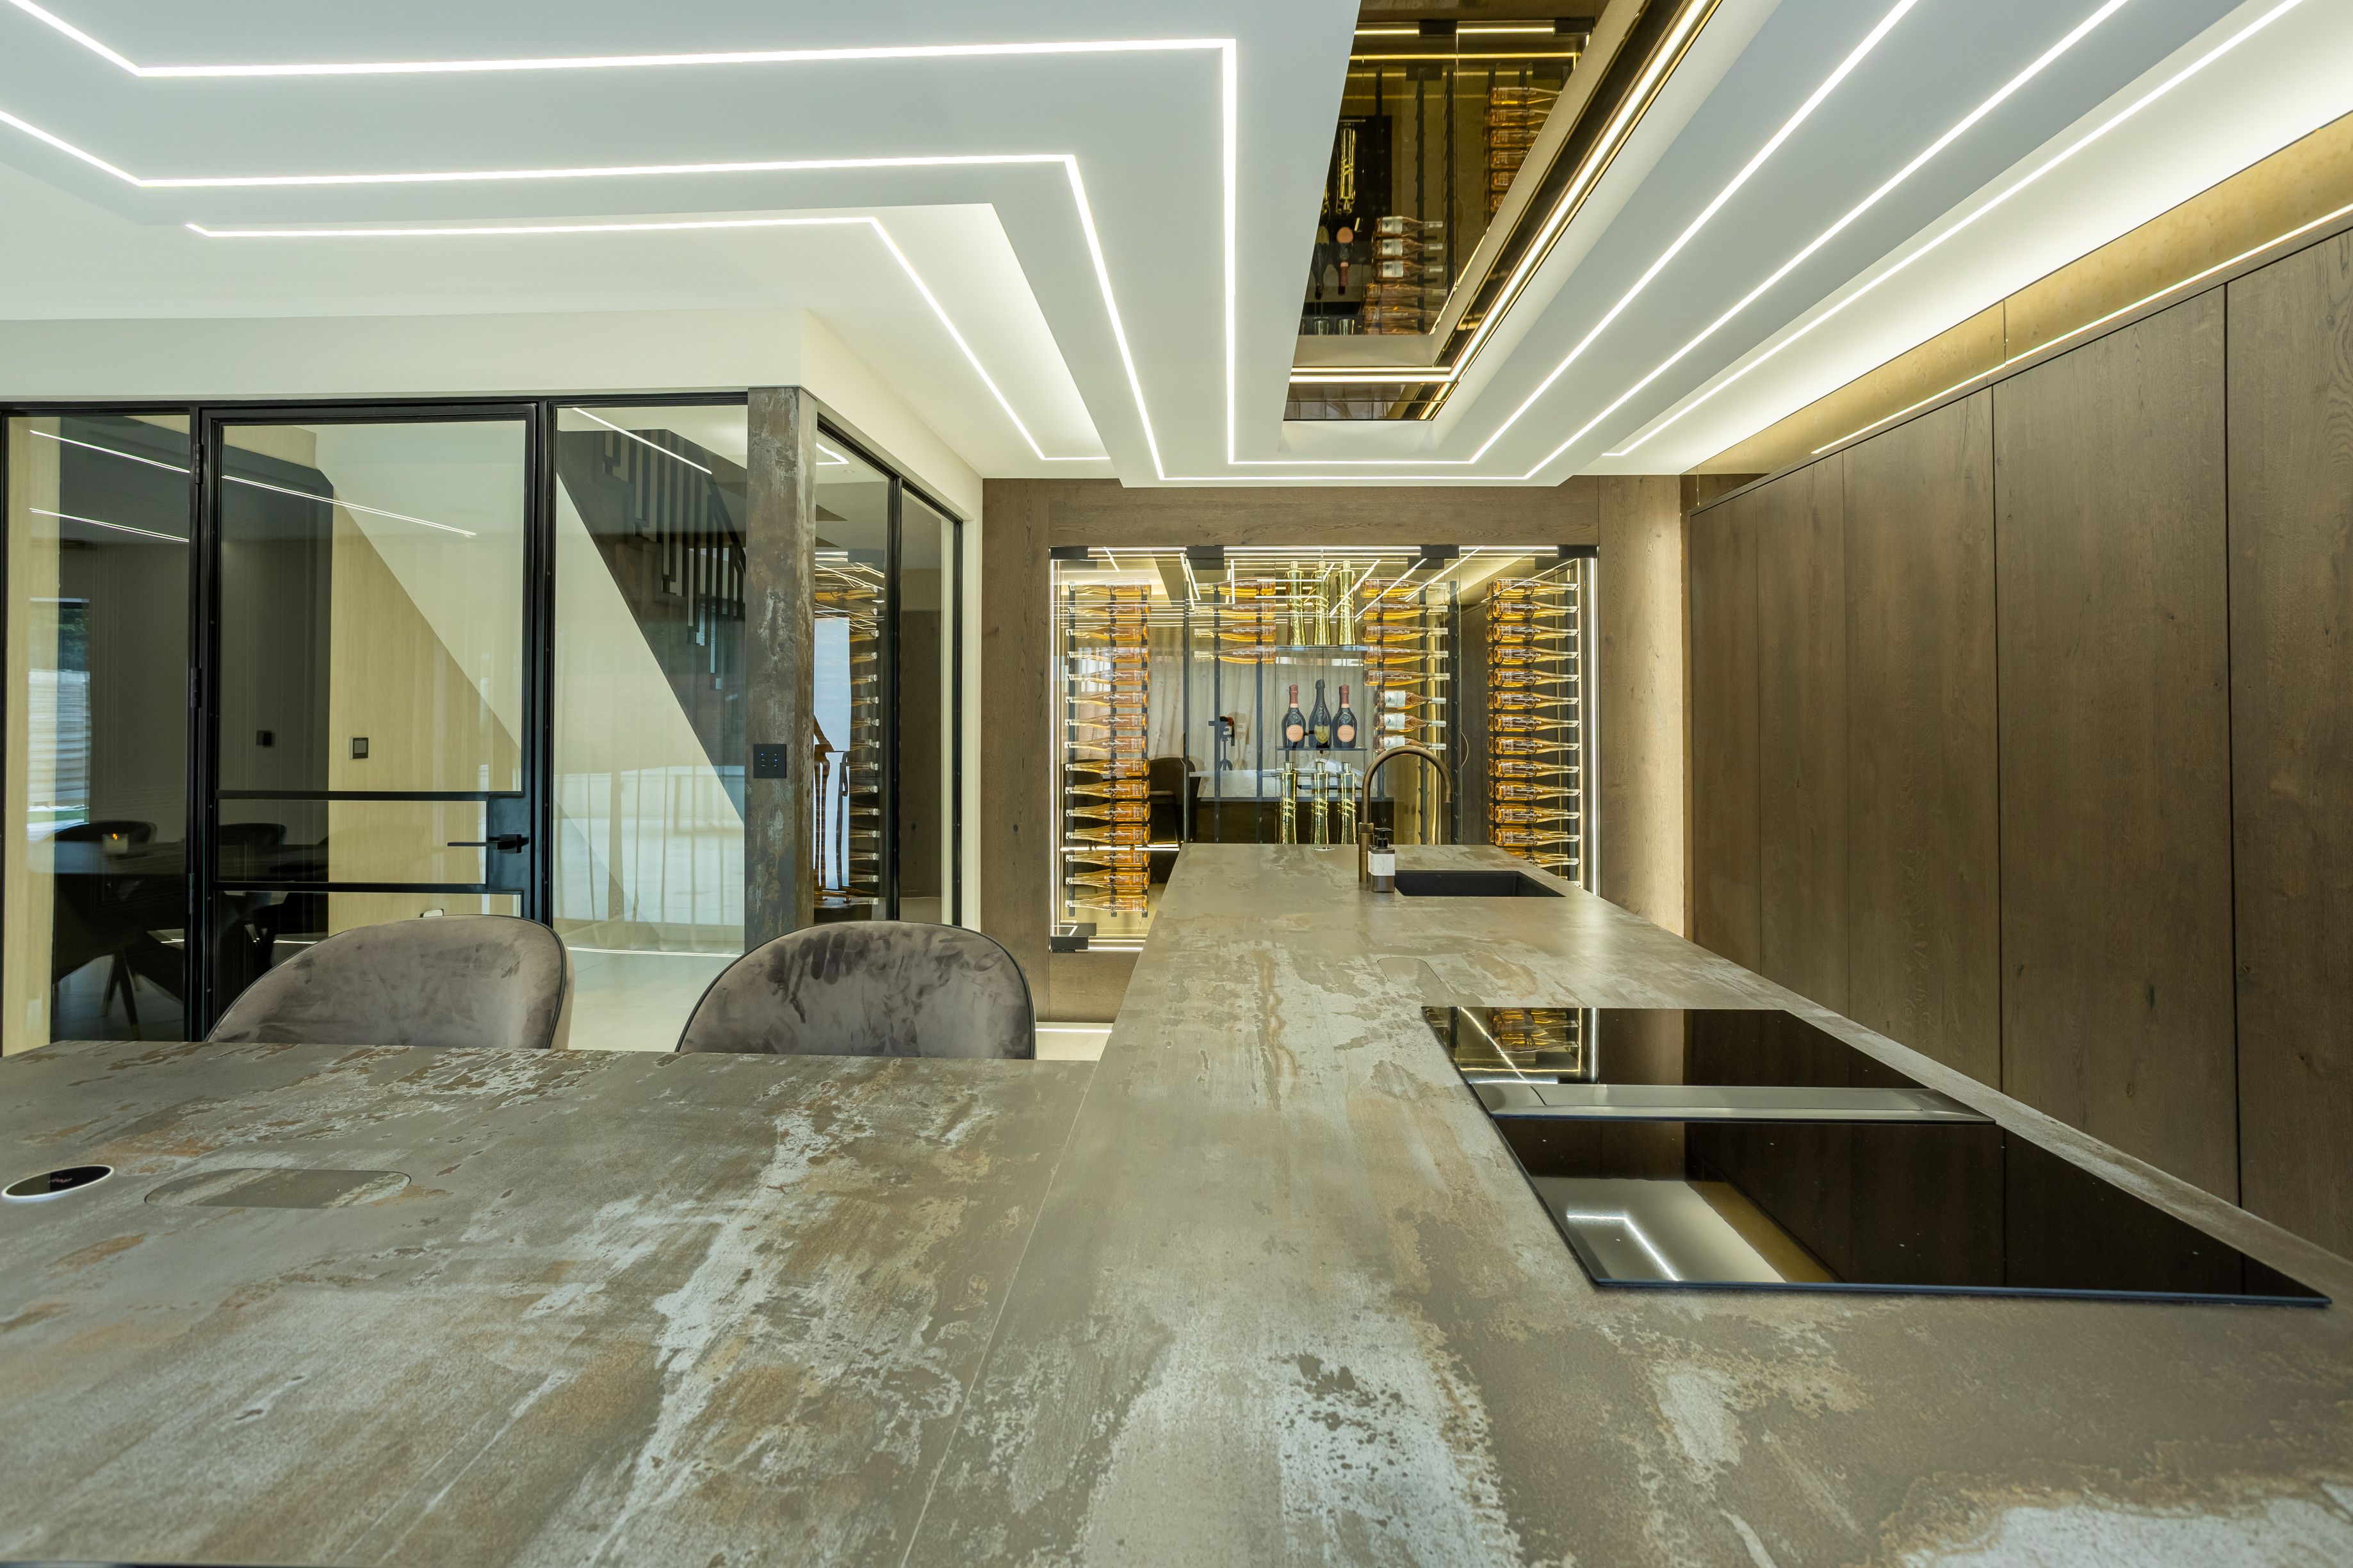
The right kitchen-island size is not determined by how large an island can be drawn into the room. It is the largest size that still allows the kitchen, adjacent spaces and every moving element to work properly.
For Meiger, establishing and checking the room dimensions is one of the most important first steps. As the kitchen and island become larger, dimensional control becomes more critical: longer alignments, heavier worktops, additional services, more seating and greater distances between work zones all need to be coordinated.
There is no single ideal island dimension for every home. The correct answer follows from a measured plan, the people using the kitchen, the island's functions, surrounding cabinetry, appliance-door movements, circulation routes, material limits and structural requirements.
Size the clear space around the island before finalising the island itself.
A useful design sequence is:
An island should improve workflow and spatial organisation. If it constricts movement, separates related tasks or requires awkward worktop and service compromises, a peninsula, table or alternative layout may work better.
An initial room width and length are insufficient for a bespoke design. Depending on the project, the survey should record:
In a large kitchen interior, small dimensional differences can become visible across long cabinet, ceiling and lighting lines. Critical dimensions should be verified again before cabinetry or worktops are released for manufacture, particularly when building work is still in progress.
The available island footprint can be understood as:
verified room width − total depth of cabinetry on the relevant sides − total clear aisles on those sides = potential island width
For example, a hypothetical 4,000 mm room width with a 600 mm cabinet run on one side and two 1,100 mm clear aisles leaves a potential 1,200 mm island width. With 600 mm cabinet runs on both sides, the same calculation leaves 600 mm. These are arithmetic examples, not recommended island sizes or proof that either layout works. Measure clearances from the finished projecting surfaces, including worktop edges, and then test doors, seating and users.
The same test applies to its length. The potential footprint is only a starting point: doors, seating, structure and connected-room circulation can require further reduction.
This outside-in method prevents the island from becoming the fixed object around which every other compromise is made.
No one clearance figure is appropriate in every situation. A route used by one person preparing food has different demands from a shared cooking aisle, a path to the garden or a seating zone where chairs project into circulation.
As an external planning benchmark, the US National Kitchen & Bath Association recommends a work aisle of at least 1,067 mm for one cook and 1,219 mm for multiple cooks, measured between counter fronts, tall cabinets or appliances. These are useful test figures, but they are not UK statutory dimensions and should not be copied into every project without considering the household, architecture and applicable requirements.
The designer should test:
Where an accessible or adaptable dwelling requirement applies, use the relevant project guidance and obtain appropriate professional confirmation. Approved Document M Volume 1 applies in England and contains specific provisions for dwellings, including Category 3 wheelchair-user homes. It should not be presented as a universal rule for every existing residential kitchen or every UK nation.
A dimension that looks adequate between two closed cabinet fronts may fail when the kitchen is in use.
Draw and test:
Manufacturer information matters. Appliance specifications can define door swings, ventilation gaps, hinge clearances and service zones that a generic cabinet symbol does not show.
An island should not accumulate functions simply because space appears available. Each function creates physical and technical consequences.
Possible functions include:
Write the required functions in priority order. If preparation is the main purpose, preserving a generous clear surface may be more valuable than adding a sink, hob and several appliances.
The island needs to support the sequence of storing, washing, preparing, cooking, serving and clearing.
Blum's kitchen-planning material divides kitchens into consumables, non-consumables, cleaning, preparation and cooking zones. The precise arrangement varies, but the principle is useful: frequently connected tasks should not be separated by unnecessary travel or conflicting movement.
Check:
A very large island can weaken workflow if users repeatedly walk around it. Scale should improve the room's performance, not merely fill its centre.
Seating affects island length, overhang, support and the route behind the stools.
Before choosing a seat count, ask:
The required width per person depends on the seat, support positions, place settings and desired comfort. It should be tested using the actual seating specification rather than a decorative row of generic stools. Corner seating also needs enough separation to prevent users competing for the same leg and elbow space.
An island sink can support preparation and connection with the room, but it introduces water, waste, drainage falls, taps, possible filtration, a dishwasher relationship and visual clutter.
Confirm:
The service design should be resolved before floors and underfloor heating are installed.
An island hob affects ventilation, power or gas, heat safety, pan space, seating and the ceiling design.
Consider:
Extraction and ventilation should be designed for the selected equipment and building conditions. Current requirements and specialist guidance should be checked for the individual project rather than reduced to a generic rule.
Large islands can exceed convenient slab sizes or require joints, additional support and complex access.
Before finalising the dimensions, obtain information on:
An island should not be enlarged beyond a rational working size solely to avoid making a design decision about the surrounding room.
The larger the island, the more important its construction, weight and access become.
The team may need to coordinate:
Relevant manufacturers, fabricators, contractors and structural professionals should confirm matters within their responsibility.
The island is usually one of the strongest objects in the room. Its position should respond to more than the base cabinets.
Meiger tests relationships with:
On a larger project, a slight misalignment becomes more noticeable because it repeats across a longer length. This is why accurate scale and dimensional coordination are fundamental to the design.
An island may be too large when:
Two carefully related elements, a peninsula or a separate table may sometimes perform better than one monumental island. That decision should follow the brief and measured plan.
If the necessary working and circulation space cannot be preserved after doors, drawers, seating and users are modelled, the room may not support an island.
Alternatives include:
Removing an island from an unsuitable plan is a design improvement, not a reduction in quality.
Before design begins, record:
Use this alongside Meiger's Bespoke Kitchen Planning Checklist and project timeline guide.
Meiger designs the island as part of a complete kitchen interior rather than as an isolated cabinet. The process considers architecture, cabinetry, worktops, appliances, lighting, services and connected living spaces within the agreed scope.
Meiger is based in Alderley Edge, Cheshire. The planning principles in this guide can also inform projects elsewhere in the UK; confirm the requirements and proposed delivery arrangements for your property with the studio.
Explore the luxury kitchen design service, review Meiger's kitchen projects, or contact the studio with the property information and intended scope.
There is no standard size that suits every room. The island should be calculated from verified room dimensions, surrounding cabinets, clear routes, doors, users, functions, worktop constraints and services.
Only when the added size improves preparation, storage, seating or spatial organisation without weakening circulation and workflow. Larger islands demand more precise dimensional, structural, material and services coordination.
It depends on whether the space is a one-person work aisle, shared cooking zone, general passage or seating route. Appliance and cabinet doors, occupied stools and accessibility needs must be tested. The NKBA's 1,067 mm one-cook and 1,219 mm multiple-cook work-aisle recommendations are useful external benchmarks, not universal UK requirements.
It can, but both functions consume preparation surface and add water, waste, power, ventilation and safety requirements. The designer should prove that the remaining surface and circulation still work rather than assuming every feature belongs on the island.
The answer depends on the architecture. The design should test cabinetry, structural grid, ceiling, lighting, doors, glazing, flooring and connected-room views together. The strongest alignment may not be the most obvious one on an isolated kitchen plan.
These references support the general planning discussion. Final dimensions, product requirements and technical responsibilities must be confirmed for the individual project.